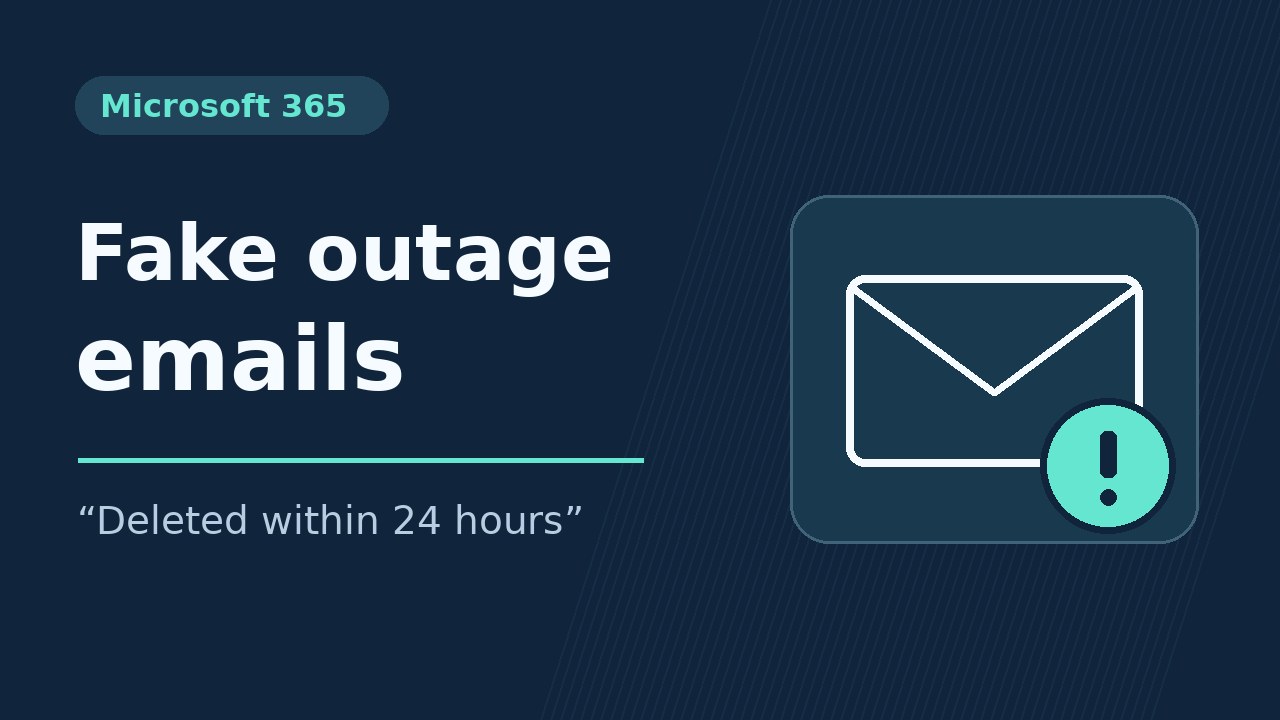


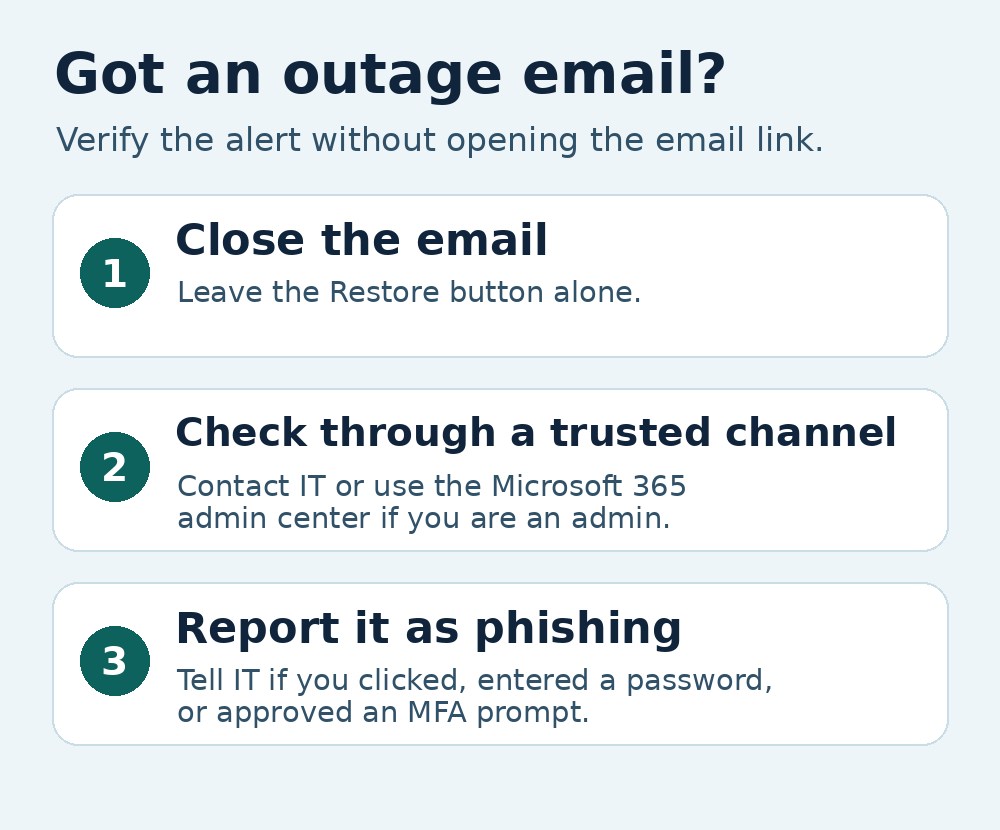
If an email says messages held during the Microsoft 365 outage will be deleted within 24 hours, leave the Restore button alone and contact your IT help desk through a channel you already trust. Microsoft Threat Intelligence found phishing emails that cited EX1550543, a real Exchange Online incident.
Microsoft detected some of these messages on November 13 and reported the campaign on November 14, 2026. Similar emails targeted organizations across several US industries. The activity had signs of credential phishing. Microsoft’s public advisory left credential collection and malware delivery unconfirmed. The public sources reviewed also leave the impact in Japan unknown. This article reflects information available on November 15, 2026 (JST).
How to spot the fake Microsoft 365 outage email
The emails imitate Microsoft 365 service health notifications and exploit the disruption that began on November 12 in North America, early November 13 in Japan. By citing a real outage and setting a 24-hour deadline, the sender gives people who are already waiting for delayed Outlook messages a reason to click quickly.
| What to check | What Microsoft observed |
|---|---|
| Subject | An “Outage -” prefix followed by a six-character code |
| Sender display name | An organization-specific prefix followed by “Outage Notification” or “Service Health” |
| Message body | A reference to incident EX1550543 and, in some messages, a threat to delete held messages within 24 hours |
| Link | A recipient-specific SendGrid tracking link that redirects to another domain |
Microsoft tracked the broader outage as MO1550821 and the Exchange Online issue as EX1550543. The incident number can help you find the official notice. Verify the request separately with IT or in the admin center. See the Microsoft 365 outage and recovery report for the outage timeline and help checking delayed messages.
How to verify the alert and report it in Outlook
- Close the email without opening its links or attachments. Leave unexpected sign-in and multifactor authentication (MFA) prompts alone.
- Employees can check their usual internal portal or ask their IT help desk. Administrators can open admin.microsoft.com from a trusted bookmark and go to Health → Service health to check the affected service and incident history. Microsoft’s service health instructions
- In supported Outlook clients, select Report → Report phishing or use the reporting button your organization provides. If the button is missing, follow your internal reporting process. Your organization’s settings determine where the report goes. Microsoft’s Outlook reporting documentation
What to do if you clicked the link or entered your password
| What you did | What to do now |
|---|---|
| Opened the email | Report it through Outlook or your internal reporting channel. Tell IT whether you opened any links or attachments. |
| Clicked the link | Close the page and contact IT. Give the approximate time and say whether you entered any information or downloaded a file. |
| Entered your password or approved an MFA prompt | Contact IT immediately using a trusted channel, such as your help desk’s usual phone number. Follow its instructions to change your password using a known sign-in page. |
If you already changed your password, still report the incident. IT may need to temporarily block sign-in, reset the password, and revoke sessions if there are signs someone else accessed the account.
For IT teams: Trace delivery, clicks, and sign-ins
Find the messages and check for clicks
Microsoft listed three sender domains: moments-notice[.]com, planetmaison[.]com, and newbooker[.]com. It observed redirects to reallifeaccounting[.]com. Compare the actual sender addresses, display names, subjects, and URLs with the advisory. Recipients received different tracking links, so an exact match for a single reported URL can miss other copies.
- Find who received the email. Search Threat Explorer in Microsoft Defender for Office 365 or the
EmailEventstable for the sender, subject, and delivery results. - Correlate links with clicks. Use
EmailUrlInfoandUrlClickEvents. Where available, join onNetworkMessageIdto compare the message, recipient, click time, and whether Safe Links allowed or blocked the request. Investigate credential entry separately. - Use message trace if Threat Explorer or click data is unavailable. Check delivery in the Exchange admin center, then use employee reports and any available web access logs to investigate what happened after delivery. Microsoft’s phishing investigation playbook
The campaign used a legitimate email service to route clicks. A pass on SPF, DKIM, or DMARC for the sending domain leaves two questions open: whether that domain belongs to the expected sender and where its link leads. If your organization uses Defender for Office 365, verify that Safe Links checks links at click time for the affected users.
Investigate potential account compromise
Review Microsoft Entra ID sign-in logs around the reported time. Check the source IP address, device, and authentication result. If you suspect account takeover, revoke sessions and review authentication methods, mailbox forwarding, and inbox rules for unexpected changes. If the email reached other users, contain those copies according to your incident response procedures. Microsoft’s compromised-account response guide
Frequently asked questions
Can I trust the email if the incident number and company name are correct?
The phishing emails cited a genuine incident and used display names tailored to each organization. Check the notice through your IT help desk or the Microsoft 365 admin center before taking action.
Will messages delayed by the outage be deleted after 24 hours?
The deadline in these emails was a false claim. If you’re waiting for a specific message, give your IT help desk the sender’s address and approximate send time so it can check delivery.